This course teaches the students the fundamentals of game programming and skills needed for game development, including GPU programming, matrix and quaternion algebra for physics calculation, animation, lighting and basics of implementing 3D models into a framework.
Projects
Note: All projects completed in collaboration with @nwarcord
Module 1: Vector Operations
This week we covered vectors, operations on vectors, and how to convert from a vector to a scalar. We also learned how to find the closest point of intersection of a (unit) ray and a sphere, given the distance vector of the ray, the ray’s origin, the sphere’s radius, and the sphere’s center vector. This can be done by using the quadratic formula (after some rearranging of terms to get the equation into a standard form, we can identify each component–a, b, and c).
However, there are cases that we need to catch: when the ray’s point of intersection is opposite the ray’s direction (the result of the quadratic is negative), when the c component of the quadratic is negative (this means that the magnitude of the vector from the ray origin to the sphere center is LESS THAN the radius. In other words, the ray is INSIDE the sphere), and when the discriminant is negative (there are no points of intersection). These three cases should be caught to yield no result.
In our first programming assignment, we implemented a Vector3 class and a Sphere class in order to calculate the nearest points of intersection between a given ray and a sphere (and to catch instances that were invalid). These classes will be used next week when we implement ray tracing on objects in a 3D scene.
Sources consulted:
- Line-sphere Intersection (wikipedia.org)
- 3D Math Primer for Graphics and Game Development: Chs. 1-2 (learning.oreilly.com)
- 3BLUE1BROWN Essence of Linear Algebra (YouTube)
Module 2: Ray Tracing
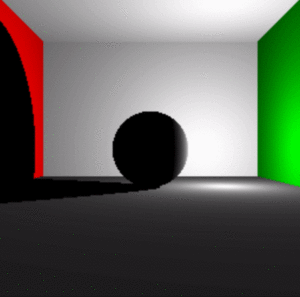
Using HTML5’s Canvas element and vanilla JavaScript, we implemented ray tracing to create a 3D scene with depth, lighting, and shading. Since we are building visual abstractions, it is always helpful to draw out what the scene should look like in order to determine the correct values to use. For example, when setting up the Cornell Box with five planes representing three walls, a floor, and a ceiling, it was helpful to diagram this with respect to an x, y, z axis to determine the normal vector (the direction each plane would be facing) and a valid point that falls within each plane:
Module 3: Matrix Operations
This module focused on matrix operations, especially with respect to 3×3 and 4×4 square matrices. We implemented functions that would compute matrix by matrix multiplication (only valid if the first matrix is r x n and the second matrix is n x c), vector by matrix multiplication (focusing on row vectors, which must be on the righthand side), as well as calculating the determinant, the inverse and transposition of a given 3×3 or 4×4 matrix. These functions will be necessary for when we use matrices to represent world, model, and view spaces in our subsequent assignments using WebGL.
Sources consulted:
- Matrix Multiplication (wikipedia.org)
- Matrix Algebra: Inverse 3×3 (euclideanspace.com)
- 3D Math Primer for Graphics and Game Development: Chs. 4-6 (learning.oreilly.com)
- 3BLUE1BROWN Essence of Linear Algebra (YouTube)
Module 4: The Rasterization Pipeline
Sources consulted:
- WebGL Shaders and GLSL (webglfundamentals.org)
- MDN web docs (developer.mozilla.org)
- WebGL Programming Guide: Chs. 1-5 (learning.oreilly.com)
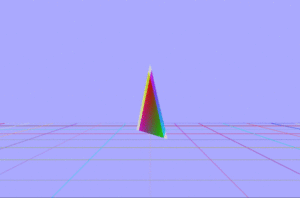
In this module, we were introduced to the WebGL API and the rasterization pipeline. The main objective of this program was to render a triangle, using the position of each of its three vertices to calculate the interpolated color values of its fragments. We also animated the triangle about the Y axis by varying the Y axis as a function of time.
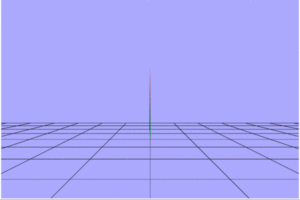
The extension activity this week was to animate the colors based on time. To do this, we needed to add another uniform float (for time) to our fragment shader, which could then receive an incremented time variable from our program. Here’s a cool scrolling effect achieved with the fract GLSL shader function.
Sources consulted:
- WebGL Shaders and GLSL (webglfundamentals.org)
- MDN web docs (developer.mozilla.org)
- WebGL Programming Guide: Chs. 1-5 (learning.oreilly.com)
Module 5: Texturing and Transparency
Using WebGL, the primary goal here was to render textures and transparency. Initially, we used the GLSL shader function texture2D to set the color of our plane based on sampling a texture. We then added three sphere objects and implemented the painter’s algorithm to render them with a realistic semitransparency effect.
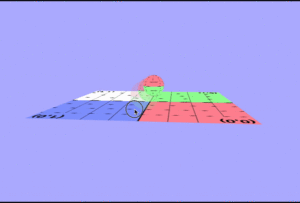
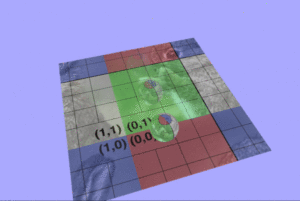
As an added bonus, we were challenged to animate our texture as well as to sample and blend multiple textures. Below you can see the result of adding a second texture (bunny) to color our plane:
Sources consulted:
- WebGL Shaders and GLSL (webglfundamentals.org)
- MDN web docs (developer.mozilla.org)
- WebGL Programming Guide: Ch. 5 Using Colors and Texture Images (learning.oreilly.com)
Module 6: Illumination
Continuing with WebGL, we implemented directional lighting with Phong shading — a combination of ambient, diffuse, and specular lighting. Each of these three components are computed as a function of the light and surface material properties.
Diffuse lighting is view independent since it is uniformly distributed. However, the orientation of the light impacts the intensity of its reflection. This is represented by the lambertian term (derived from Lambert’s cosine law). Specular lighting, being non-uniformly distributed, is view dependent.
To test the Phong shading, we can manipulate the viewing angle of the world as well as the orientation of the light. While the ability to manipulate the view matrix was previously completed, we added the ability to rotate the light orientation (a vector) about the X and Y axes using rotation matrices:
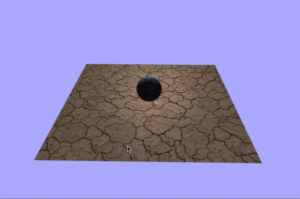
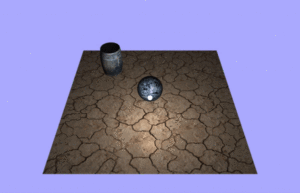
As an extension, we were challenged to also create a version of this world with point lighting and Phong shading. The white orb on the screen is positioned at the same location of the point lighting to give an illusion that it is the source of the light. The barrel is present to test the vector math, to ensure that only face of the barrel facing the point lighting is illuminated.
Sources consulted:
- WebGL Phong Demo (cs.toronto.edu)
- Basic Lighting (Learn OpenGL)
- WebGL Programming Guide: Ch. 8 Lighting Objects (learning.oreilly.com)
Module 7: Shadows
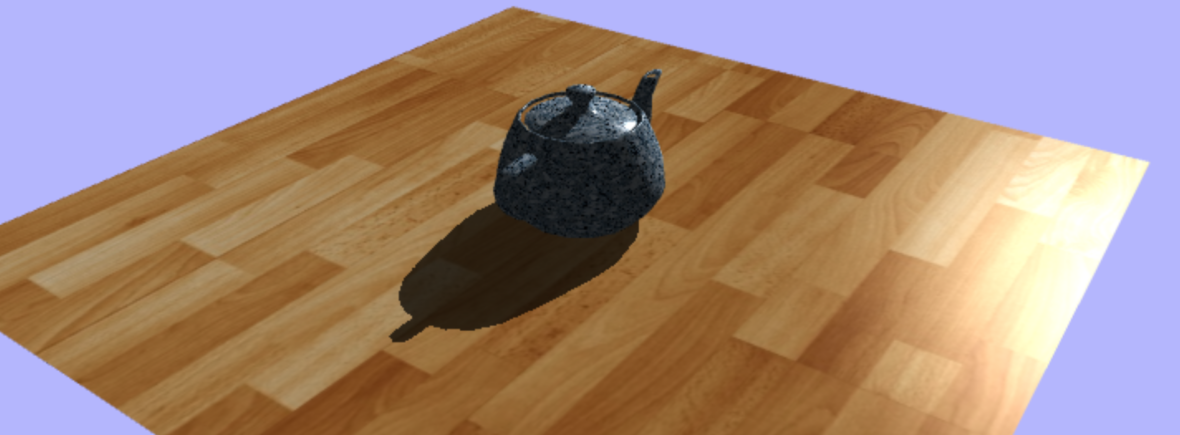
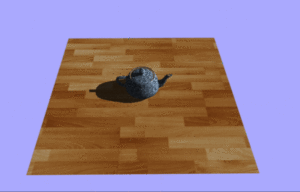
In our penultimate week, we learned about shadow mapping–specificaly, casting shadows from a single directional light. First, we had to render scene depth from the point of view of the directional light into a tetxure. Next, we had to re-render the scene from the eye, determining whether each pixel was in shadow (by using the depth texture created in the initial rendering).
Sources consulted:
- WebGL Programming Guide: Ch. 10 Advanced Techniques (learning.oreilly.com)
- Shadow Map Antialiasing: (developer.nvidia.com)
Module 8: Final Project
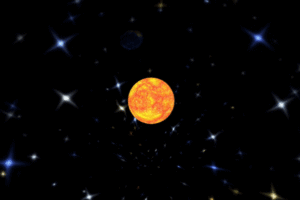
For our final project, we had to integrate everything we learned in the class to create a partial model of our solar system with the sun, Earth, and moon using JavaScript and WebGL.
The only lighting in this world comes from a diffuse point light situated at the position of the sun. The sun and background have emissive lighting to show the full color of their texture. The Earth and sun are only lit by the diffuse point lighting.
All of the celestial bodies rotate about their y axis, but at different rates. The Earth revolves around the fixed point of the sun, while the moon’s revolution around is a bit more complex since it revolves around the non-fixed position of the Earth.
